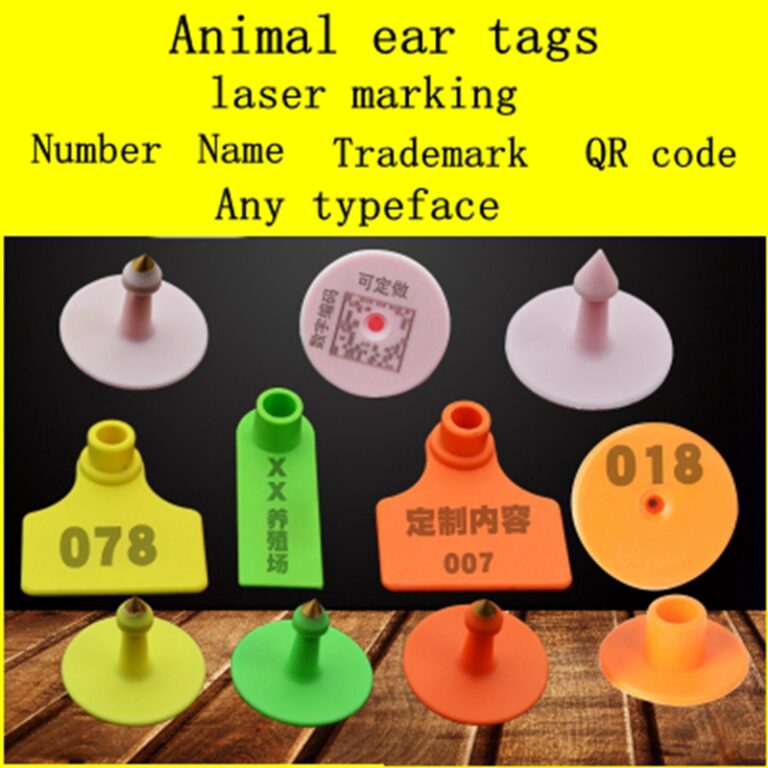
How to mark pictures with laser marking machine
The laser marking machine has many functions. It can print characters of various font sizes, can make marks, and also can use it to print pictures. As long as you set up according to the parameters, follow the correct method to operate. So how does the device display pictures?
1. First prepare a high-definition photo (because the pixels are too low to produce good results), import it into the laser marking machine software, and then set the relevant parameters.
2. The higher the value set in DPI, the better the printing effect and the slower the relative time. The commonly used value here is around 300-600. Of course, you can set a higher value. Adjust the parameters according to your needs.
3. In most cases, it is necessary to set the inversion and dot mode for the photo, and there will be situations where the inversion is not selected. Under normal circumstances, the laser marking machine needs to set the inversion. After setting, enter the expansion, and check the bright processing. Contrast adjustment is used to control the ideal effect of printing the photo. White areas are not marked, and black areas are marked. Scan mode, the commonly used dot mode, the setting is 0.5, bidirectional scanning and left-right scanning are generally not recommended, too slow!
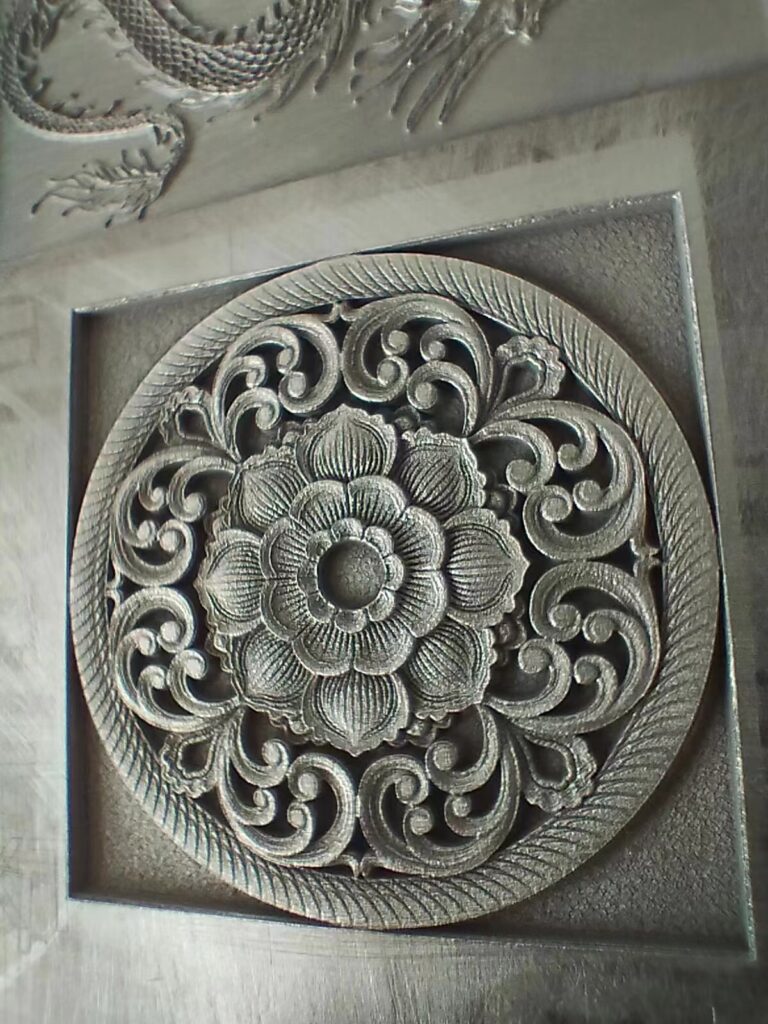
According to the method described above, we can realize the function of laser marking machine to print pictures, and the pictures can be printed more clearly. In normal use, we must do a good job of maintenance, correct and standardize operations, and shut down when not in use, which can better extend the service life of the machine.